*This post may contain affiliate links for which I earn commissions.*
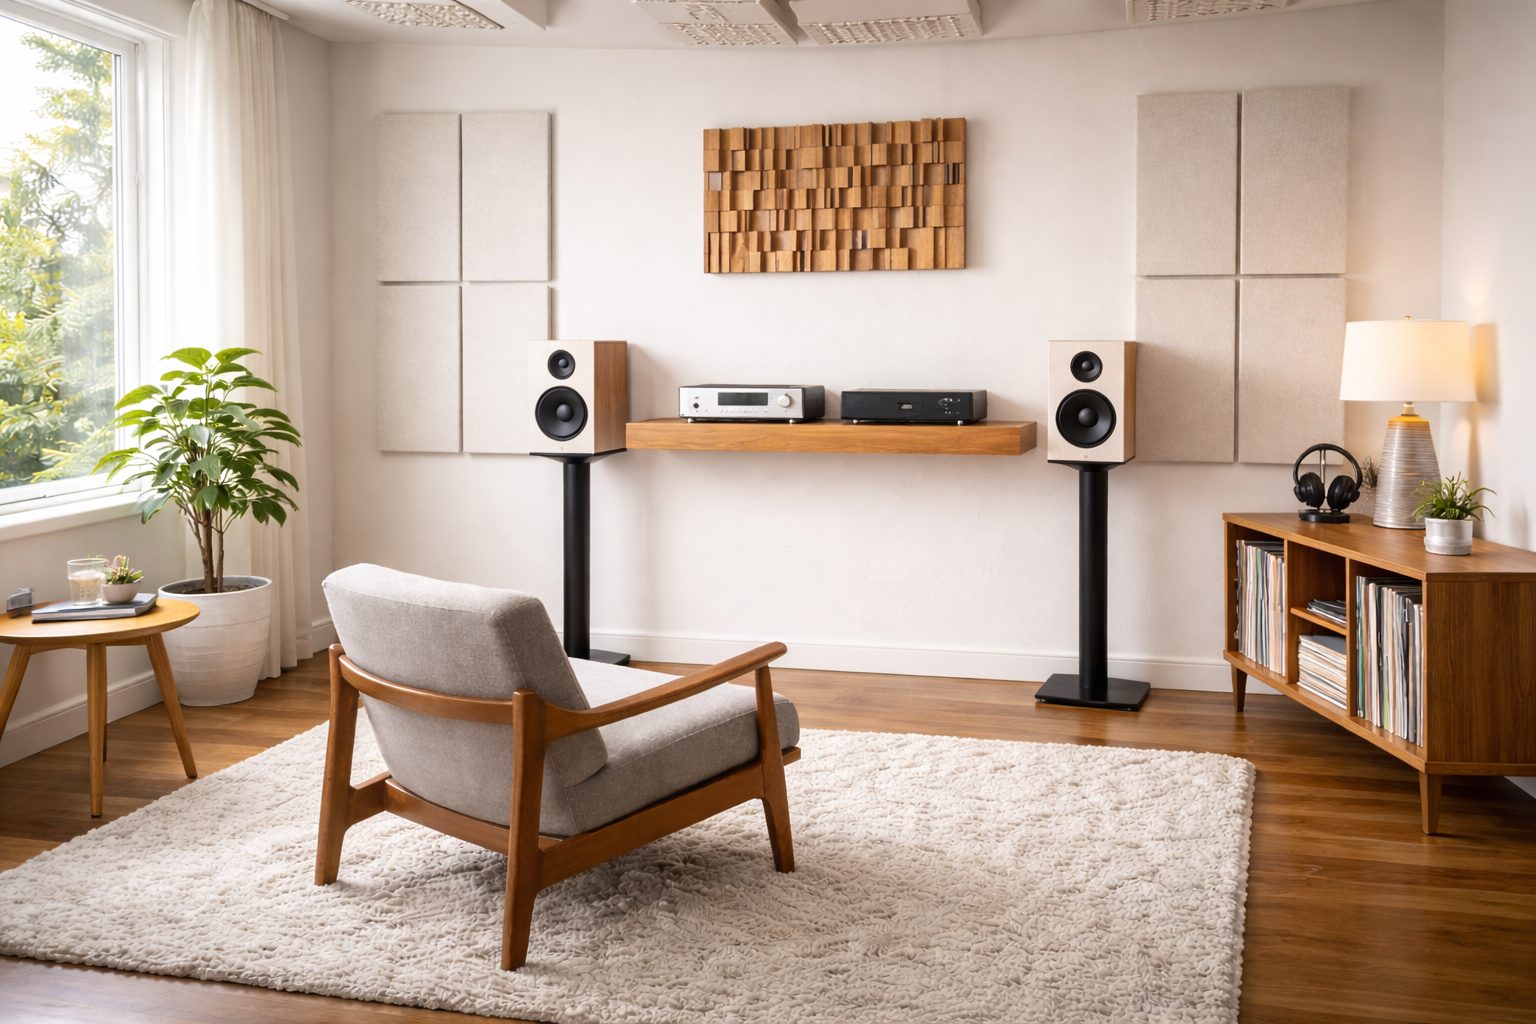
A simple floating shelf can give your audio setup that calm, high-end presence many listening rooms have. The good news is that the build itself is surprisingly approachable, even if you’ve never installed a shelf before. With a solid board, a few hidden brackets, and a bit of patience, you can create a place where your gear feels intentional instead of temporary.
The real charm of a floating shelf is how quietly it disappears. Your amplifier, DAC, or streamer becomes the visual focus, and the wall simply supports the listening experience.
I like builds like this because they sit right at the intersection of craft and music. You make something with your hands, and then you sit back and let it hold the sound that fills the room.
Supplies + Tools
- Solid wood shelf board (24–36 inches long, 10–12 inches deep)
Walnut, oak, or ash works beautifully. A thickness around 1.5 inches gives the shelf enough visual weight for audio gear. - Heavy-duty floating shelf brackets
Look for steel brackets rated for at least 50–75 lbs. Audio gear can be heavier than it looks. - Stud finder
Helps locate the wooden studs behind drywall so the shelf is anchored securely. - Level (24 inches or longer)
A longer level makes it easier to see small tilts across the full width of the shelf. - Drill and drill bits
One bit for pilot holes and another for the bracket mounting screws. - Wood screws or lag bolts
Usually included with bracket kits, but check that they’re long enough to reach the stud. - Wall anchors (optional)
Useful if one side of the shelf can’t land on a stud. - Fine sandpaper (180–220 grit)
Smooths the shelf edges and surfaces before finishing. - Wood finish or oil
A natural oil or satin polyurethane keeps the wood looking warm without feeling glossy. - Cable clips or small cable management tray
Helps keep power and signal cables tidy behind the shelf.
Set Yourself Up for Success
Take a minute to stand in your listening position and look at the wall where the shelf will live. Height matters more than people think.
Most audio shelves feel natural when the top surface sits around 26–32 inches from the floor. That keeps gear within reach while still feeling integrated with the room.
A few small prep notes make the job smoother:
- Mark stud locations lightly with pencil before you bring the shelf into the process.
- Check that your shelf depth leaves at least 2 inches behind gear for cables.
- If you’re finishing raw wood, apply the oil or sealant before installation. It’s much easier on a workbench than on the wall.
- Let the finish cure fully. Rushing this step can leave fingerprints that take hours to fix. (Ask me how I know.)
Step-by-Step
- Find the wall studs.
Use your stud finder and mark the center of each stud with a small pencil line. Ideally the shelf brackets will land directly into these. - Decide your shelf height.
Measure from the floor and mark the height of the bracket mounting points. Double-check from across the room. Small visual adjustments can matter. - Level your bracket marks.
Hold the level across the marks to ensure both brackets sit perfectly horizontal. A shelf that tilts even slightly will always catch your eye. - Drill pilot holes.
Drill small pilot holes into the studs where the bracket screws will go. This keeps the wood from splitting and makes installation easier. - Install the floating brackets.
Drive the screws or lag bolts through the bracket holes into the studs. Tighten them firmly but don’t overtighten. - Slide the shelf onto the brackets.
Most floating systems use steel rods that slide inside holes drilled into the shelf board. Push the shelf slowly until it sits flush against the wall. - Secure the shelf if required.
Some brackets include small locking screws underneath the shelf. These keep the board from sliding forward. - Check the level one last time.
Place your level across the top surface. If it’s slightly off, loosen the bracket screws and adjust before tightening again. - Place your gear and route cables.
Leave a little breathing space around each component so heat can dissipate naturally.
There’s a quiet satisfaction the first time your amplifier settles onto a shelf you built yourself.
A quick tool note
A couple of helpers make this kind of install much easier:
- Magnetic stud finder for quick wall scanning
- Compact cordless drill that’s comfortable in one hand
- Heavy-duty floating shelf bracket kit rated for audio gear weight
Common Mistakes (and Fixes)
- If the shelf feels wobbly…
Check that the screws are anchored into studs rather than just drywall. - If the shelf tilts forward slightly…
The bracket rods may not be fully seated inside the shelf. Slide the board back until it meets the wall. - If cables look messy behind the gear…
Add adhesive cable clips underneath the shelf to guide wires toward one clean drop. - If the shelf sags in the middle…
Use a thicker board or add a third bracket in the center for heavier amplifiers. - If the wall finish chips while drilling…
Place painter’s tape over the drill spot before making pilot holes.
Make It Your Own
A floating shelf can quietly shape the whole character of a listening wall.
Wide stereo shelf
Extend the board to around 48 inches and place speakers on isolation pads at the ends with gear in the center.
Dark studio look
Use a matte black stained oak shelf with black brackets against a charcoal wall.
Natural wood warmth
A thick walnut slab finished with oil brings warmth and texture that pairs beautifully with vintage gear.
Stacked shelves
Install a second floating shelf above the first for vinyl storage or a small record display.
Hidden cable channel
Route a shallow groove along the back underside of the shelf so cables disappear completely.
A Quick Next Step
Once the shelf is in place, dim the lights and sit in your usual listening spot for a minute. Notice how the gear now feels anchored, almost like it belongs to the room rather than sitting in it.
That’s one of the small pleasures of building pieces like this. The craft fades into the background, and the music takes center stage again.
Small tip: Leave just a little breathing room between each component. That quiet space often makes the whole setup feel calmer and more intentional.