*This post may contain affiliate links for which I earn commissions.*
Late one evening I dropped the needle on a familiar record and immediately heard it. The bass filled the room like a thick fog, lingering long after the notes should have faded. A few careful changes later, that same room felt entirely different. The low end settled into place, the midrange gained presence, and the whole listening experience suddenly carried a quiet sense of luxury.
It wasn’t new gear that made the difference.
It was where the speakers stood.
What It Looked Like Before
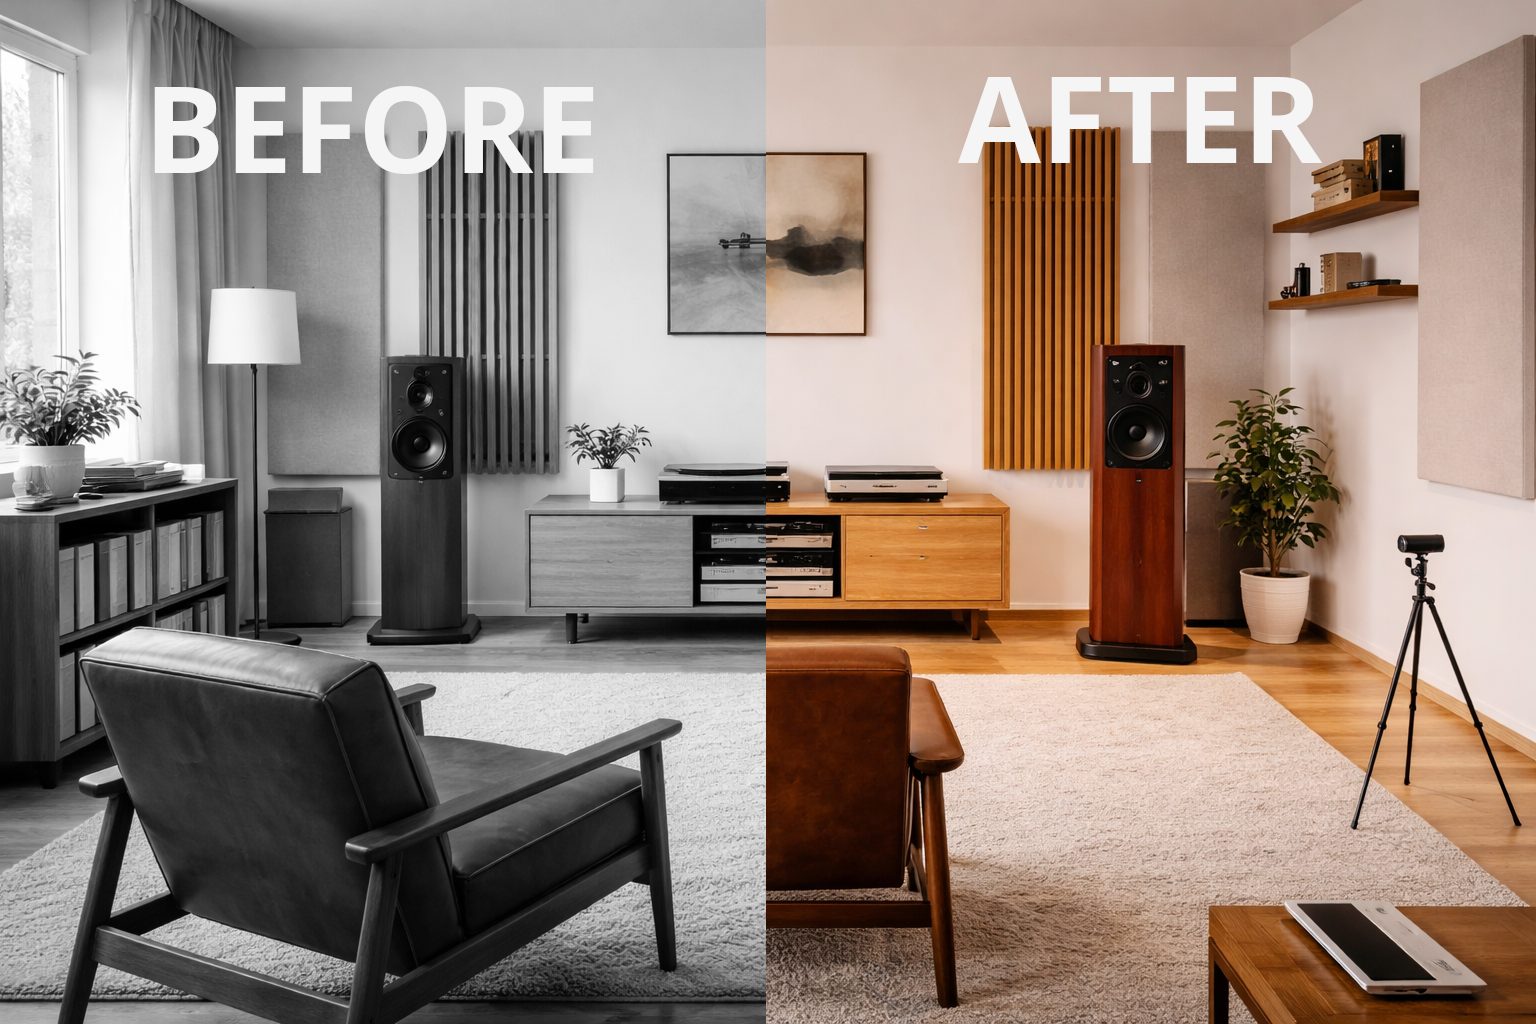
At first glance the room looked perfectly fine.
Two tall floorstanding speakers sat confidently on either side of a walnut media console. A turntable rested in the middle with an integrated amplifier just beneath it. A soft wool rug covered the floor, and a mid century armchair faced the system like it had been waiting there for years.
But once the music started, the illusion cracked.
The speakers were pushed too close to the back wall. The bass waves had nowhere to go, so they built up in the corners and spilled forward into the room. Instead of hearing individual bass notes, I heard a thick rumble that blurred everything behind it.
The soundstage felt narrow as well. Instruments that should have floated across the room stayed stubbornly glued to the speakers.
Visually, nothing seemed wrong.
Sonically, the room felt crowded.
(And yes, I spent a few evenings pretending the problem was the recording before admitting it was the setup.)
The Goal
What I wanted was simple.
I wanted the room to breathe.
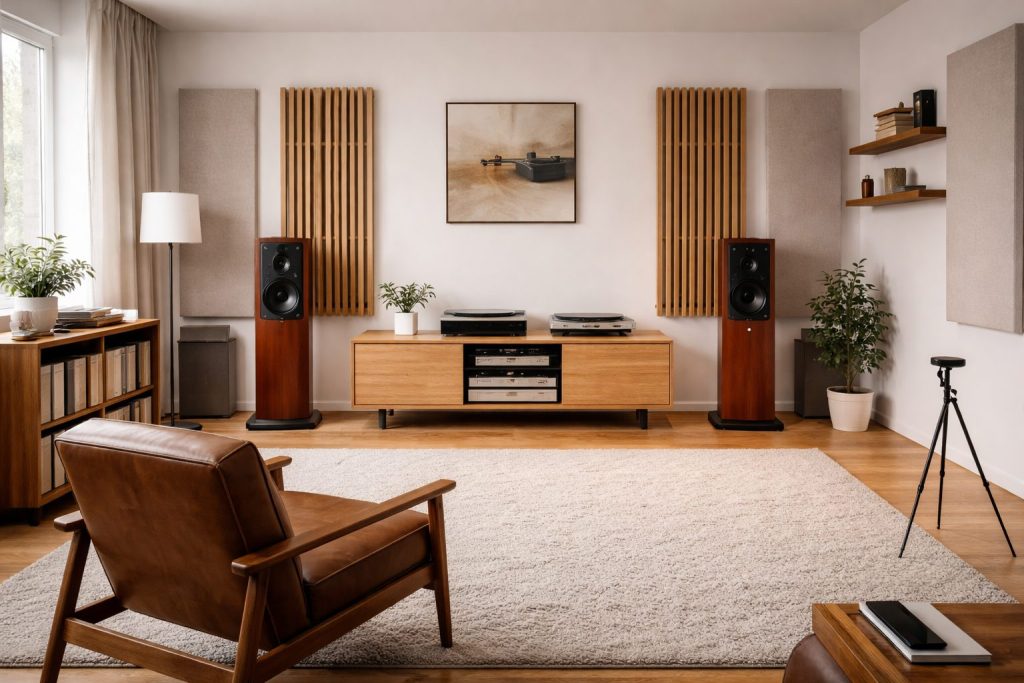
The best listening spaces carry a sense of balance. Bass feels grounded instead of swollen. Voices have body and warmth. Instruments appear across the room with a natural sense of space, almost like the musicians are standing just beyond the speakers.
Luxury in a listening room doesn’t always mean more equipment. Sometimes it means restraint, careful positioning, and a little patience while your ears guide the process.
So the goal became clear.
Give the speakers room to speak.
The Fixes That Mattered Most
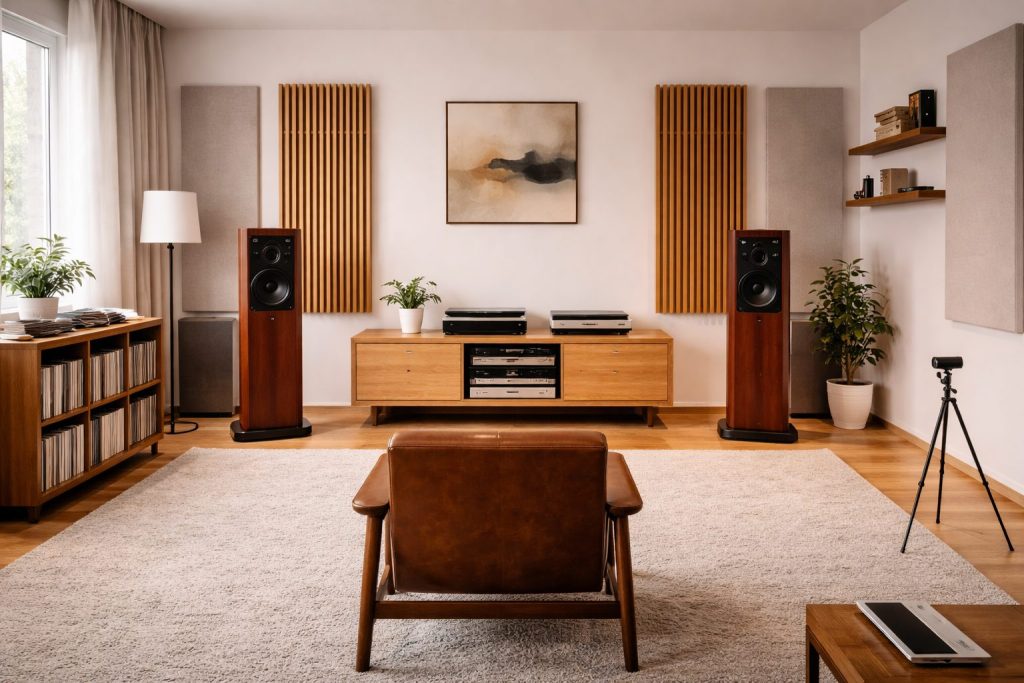
A handful of small adjustments completely changed the character of the room.
• Pulled the speakers farther from the front wall
Moving them about two feet forward reduced bass reflections bouncing straight back into the drivers. The low end suddenly tightened, and individual bass notes became easier to follow.
• Increased the distance between the speakers
Widening the placement opened the stereo image. Instruments began spreading naturally across the room instead of clustering near the cabinets.
• Introduced a slight toe-in toward the listening chair
Angling the speakers gently toward the listening position focused the soundstage. Vocals gained clarity and presence without becoming sharp.
• Adjusted the listening chair position
Shifting the chair slightly away from the back wall helped avoid bass buildup behind the listening spot. The change was small but surprisingly noticeable.
• Added a thicker wool rug between speakers and chair
This softened early reflections from the floor. The room felt calmer and less echo prone.
• Raised the speakers onto proper isolation platforms
Decoupling them from the floor reduced vibration traveling through the room structure. Bass became more controlled and less boomy.
• Placed simple bass traps in the front corners
These quietly absorbed some of the excess low frequency energy gathering in the corners. The result was cleaner bass without losing depth.
• Balanced symmetry across the front wall
Matching furniture placement and wall space on both sides of the system helped stabilize the stereo image visually and acoustically.
None of these changes felt dramatic on their own.
Together, they reshaped the entire listening experience.
The Shopping List for This Transformation
A few carefully chosen pieces can make speaker placement adjustments easier and more consistent.
• Speaker isolation platforms
Look for dense platforms made from layered wood, stone, or composite materials with damping feet. They help prevent vibrations from traveling through floors and furniture.
• Speaker spikes or adjustable feet
These allow precise leveling and stable contact with the floor. Height adjustment also helps align tweeters with ear level for better imaging.
• Bass traps for room corners
Thick acoustic panels designed for low frequencies help absorb bass buildup where walls meet. Fabric wrapped versions blend nicely into living spaces.
• Broadband acoustic wall panels
Panels filled with mineral wool or acoustic foam help control reflections from nearby walls. Neutral fabrics keep the room feeling calm and refined.
• Measurement tape or speaker placement guides
Precise distances matter. Even a simple tape measure can help maintain symmetry and repeatability.
• Speaker isolation pads for temporary testing
Soft isolation pads are useful for experimenting with placement before committing to permanent platforms.
• Thick wool area rug
Natural wool absorbs reflections better than thin synthetic rugs while adding warmth and texture to the room.
• Cable risers or cable organizers
Keeping speaker cables slightly lifted and neatly arranged reduces visual clutter and helps the front of the room feel intentional.
• Adjustable listening chair or lounge chair
Comfortable seating positioned at the correct distance from the speakers makes it easier to settle into long listening sessions.
Each of these pieces supports the same goal.
Let the speakers disappear and let the music take their place.
Tiny Tweaks, Big Impact
Once the major placement work was done, a few small details quietly completed the room.
• Slightly dimmed lighting behind the listening position
• A small wooden record crate beside the chair for easy album changes
• A matte black record brush resting near the turntable
• A soft linen throw draped over the chair arm
• Balanced décor on both sides of the media console
• A narrow wall shelf holding a few favorite album covers
• Warmer LED lighting tucked behind the equipment rack
The room didn’t look dramatically different.
But it felt more intentional.
The Simple Maintenance Plan
Keeping the room sounding balanced doesn’t take much effort once everything is dialed in.
• Recheck speaker distances every few months if furniture shifts.
• Vacuum rugs and acoustic panels so dust doesn’t dull their texture.
• Occasionally revisit toe-in angles when swapping speakers or stands.
• Keep the space around the speakers uncluttered so reflections stay predictable.
Speaker placement is one of those quiet crafts in audio.
It rewards patience more than spending.
Small tip: once you find a placement you love, mark the speaker positions discreetly with felt pads under the feet so they always return to the same spot.